Projects
The Dingus Messaging System
// September 2022 - August 2023
// GitHub Repository
In late September 2022, I had an idea for the ultimate Christmas gift to my partner - a messaging system between us which
allows us to leave each other short notes for when we get back home. After about 40 hours of learning, coding,
troubleshooting, soldering, and updating, I have created its most current version. Hosted on a remote webserver,
the secure web client provides a text box and buttons to submit messages and photos (photo display functionality not yet finished).
Once one of the buttons are pressed, the text in the box is saved to a file using PHP, and a list file is updated with its
filename.
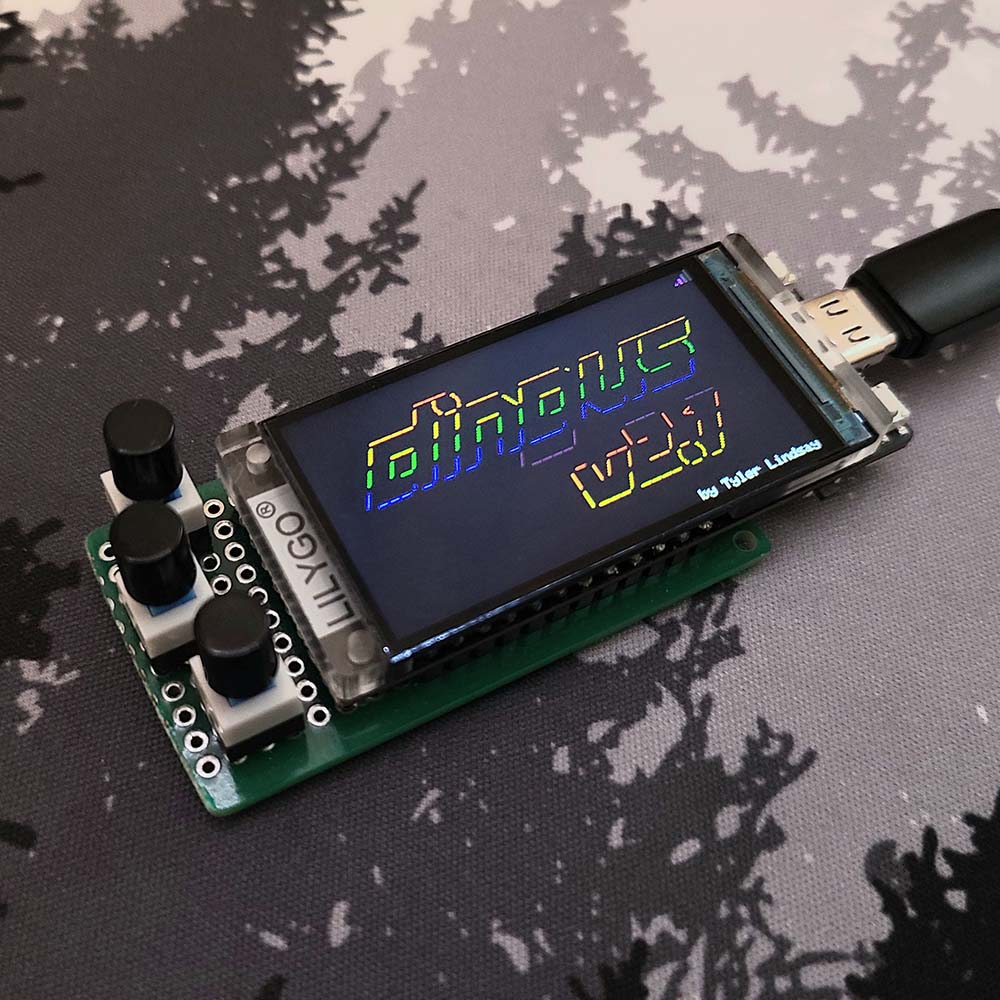
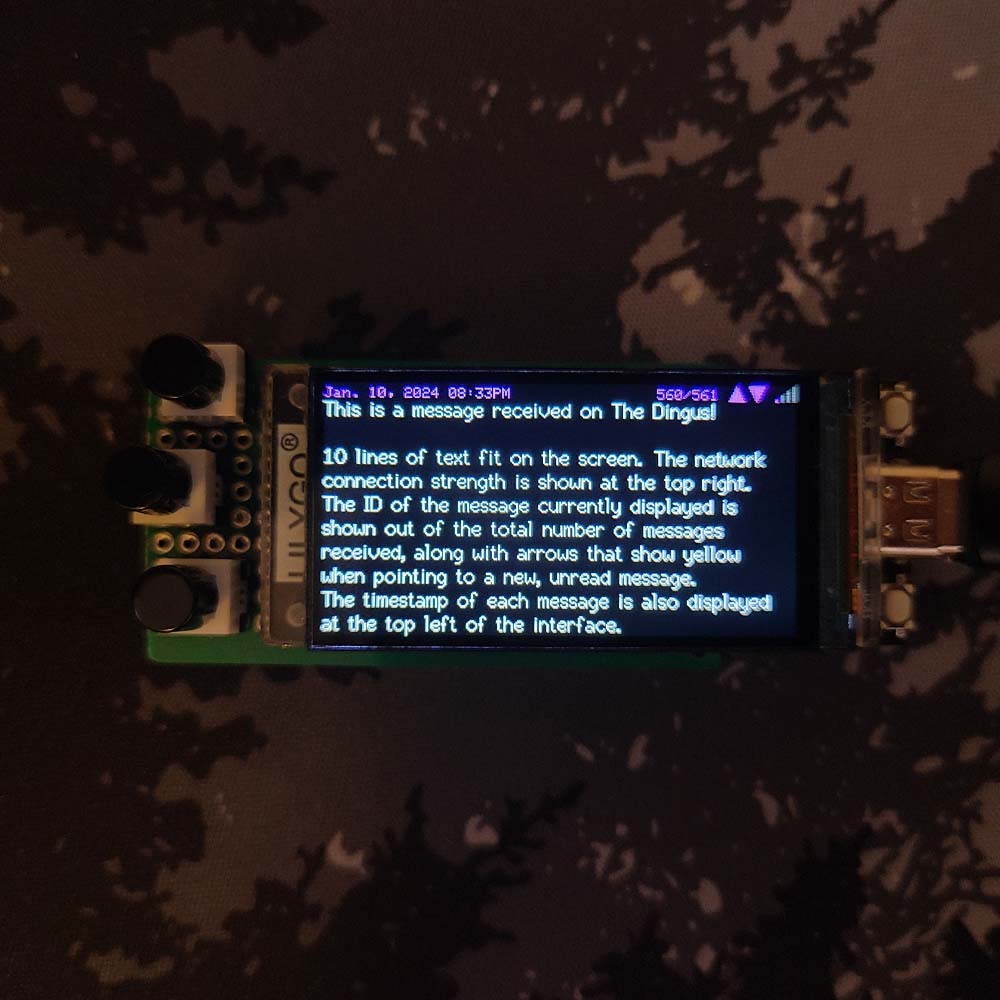
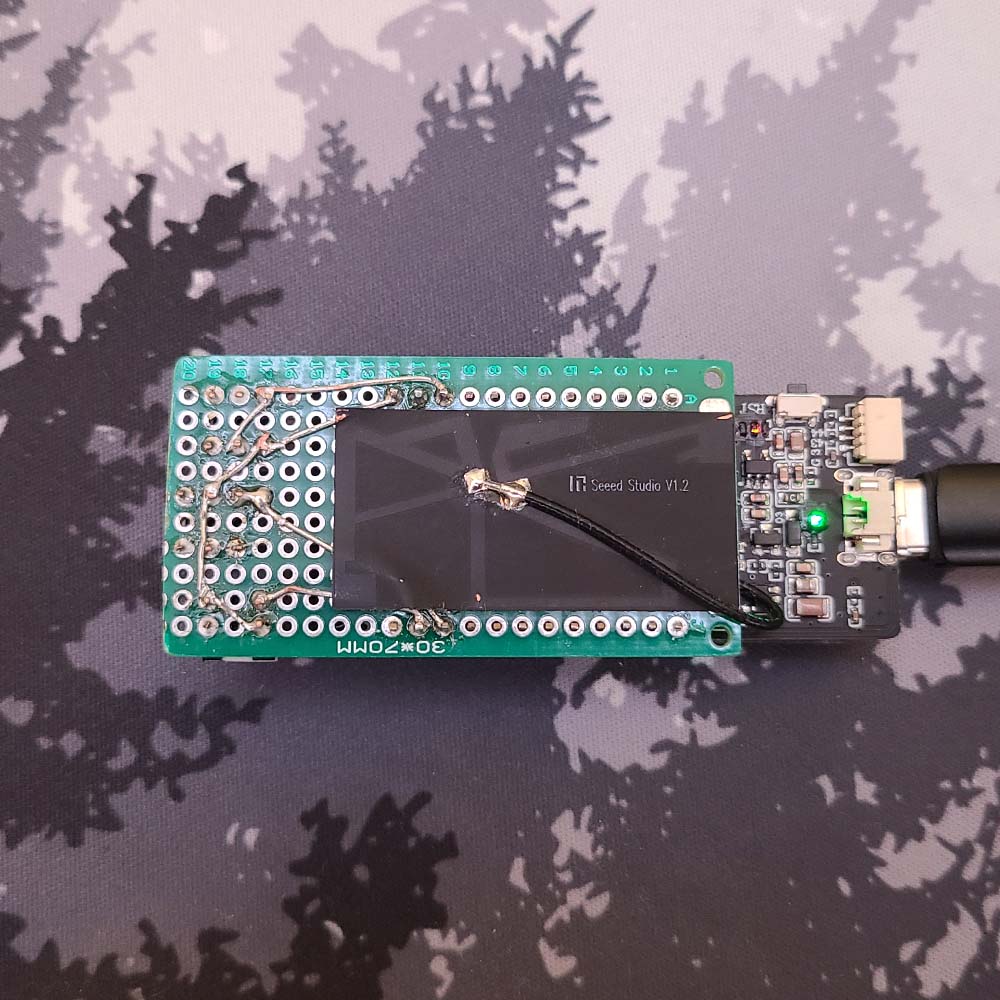
The message receiver (codenamed The Dingus) is a Lilygo T-Display-S3 microcontroller using the ESP32-S3 SoC. Using periodic
HTTP file get requests, the dingus can grab the list of filenames from the server and determine which messages are new. If a
new message is found, the user can use the built-in buttons (soldered to device with perfboard) to display and navigate the
new messages and previous messages.
Custom Electric Skateboard
// November 2023 - December 2023
// GitHub Repository
I had always wanted a Boosted board. The idea of an electric skateboard was so cool to me, but the price surely wasn't. Now, in 2023, the parts needed to build one myself became affordable enough to try my hand at it. There were a few main parts impractical or impossible to make myself, including the deck, trucks, wheels, brushless motors, and electronic speed controllers (ESCs). However, the parts I needed to make were quite the challenge - the most significant one being the 3D-printable enclosures.
Enclosures
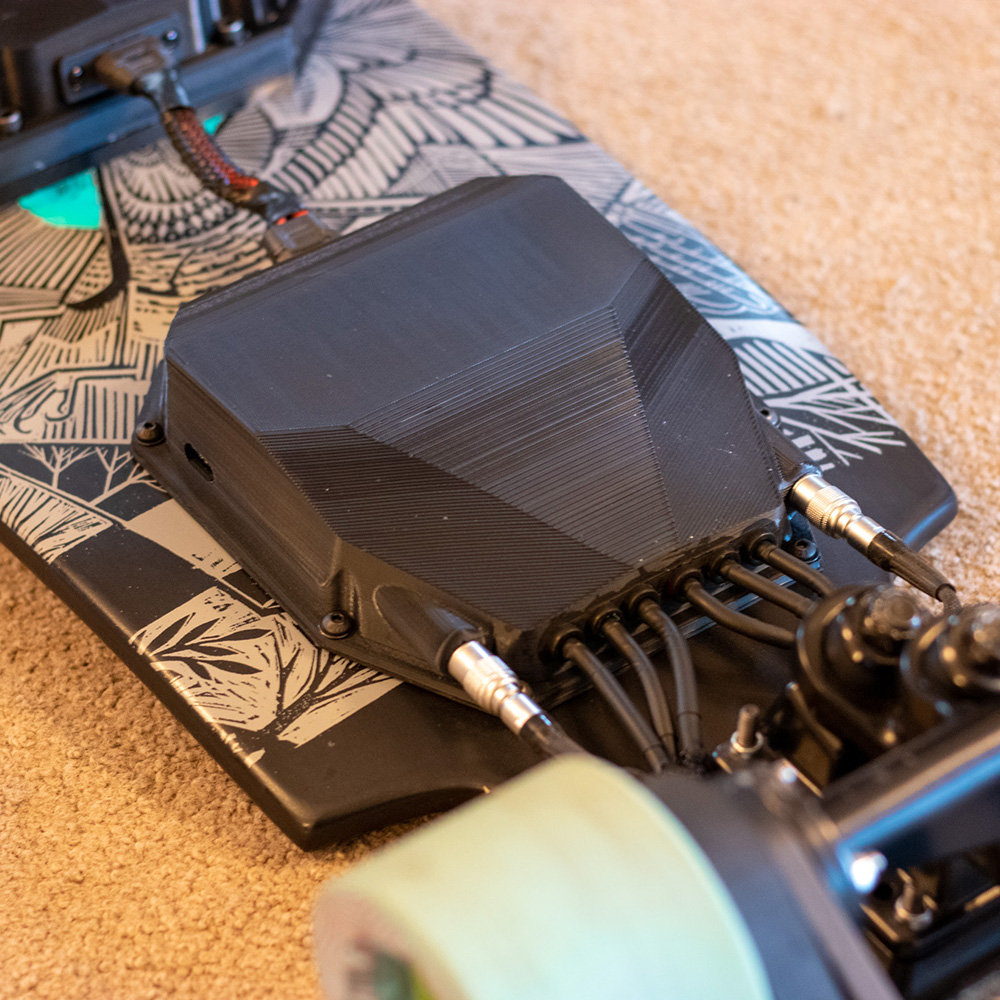
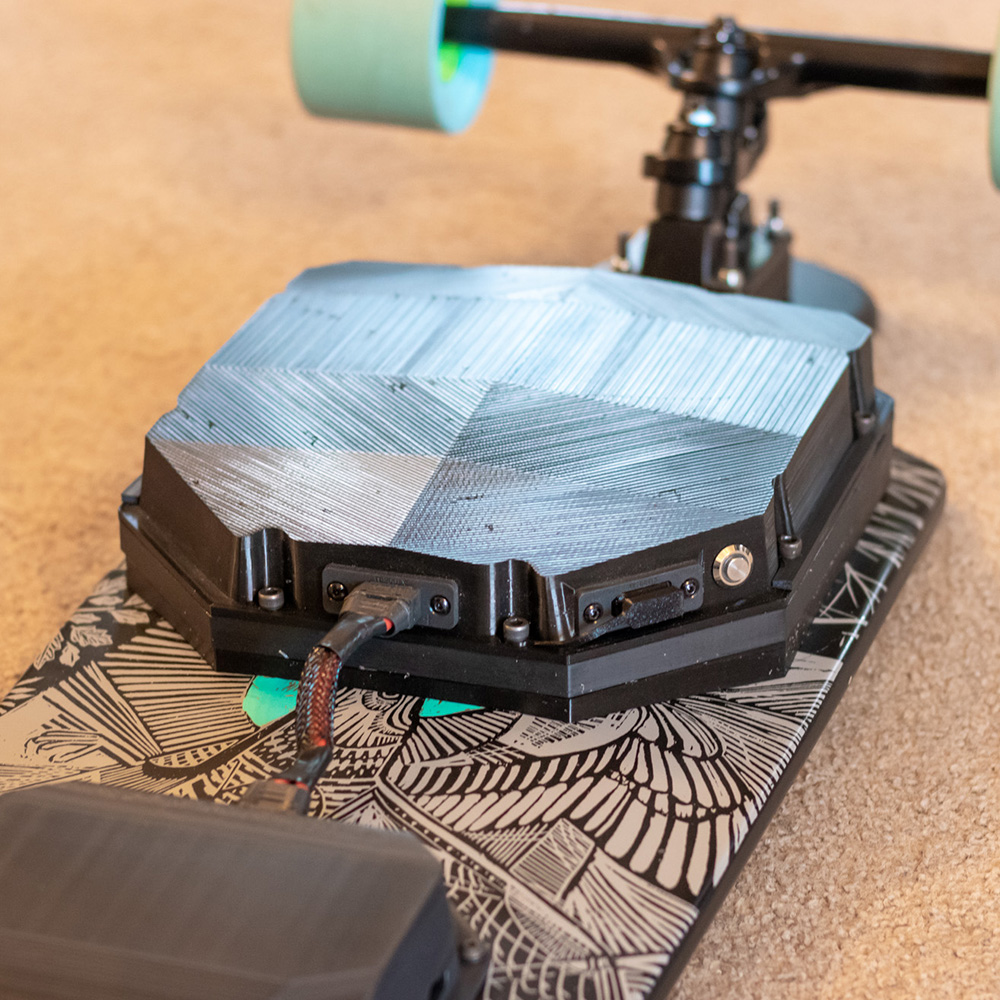
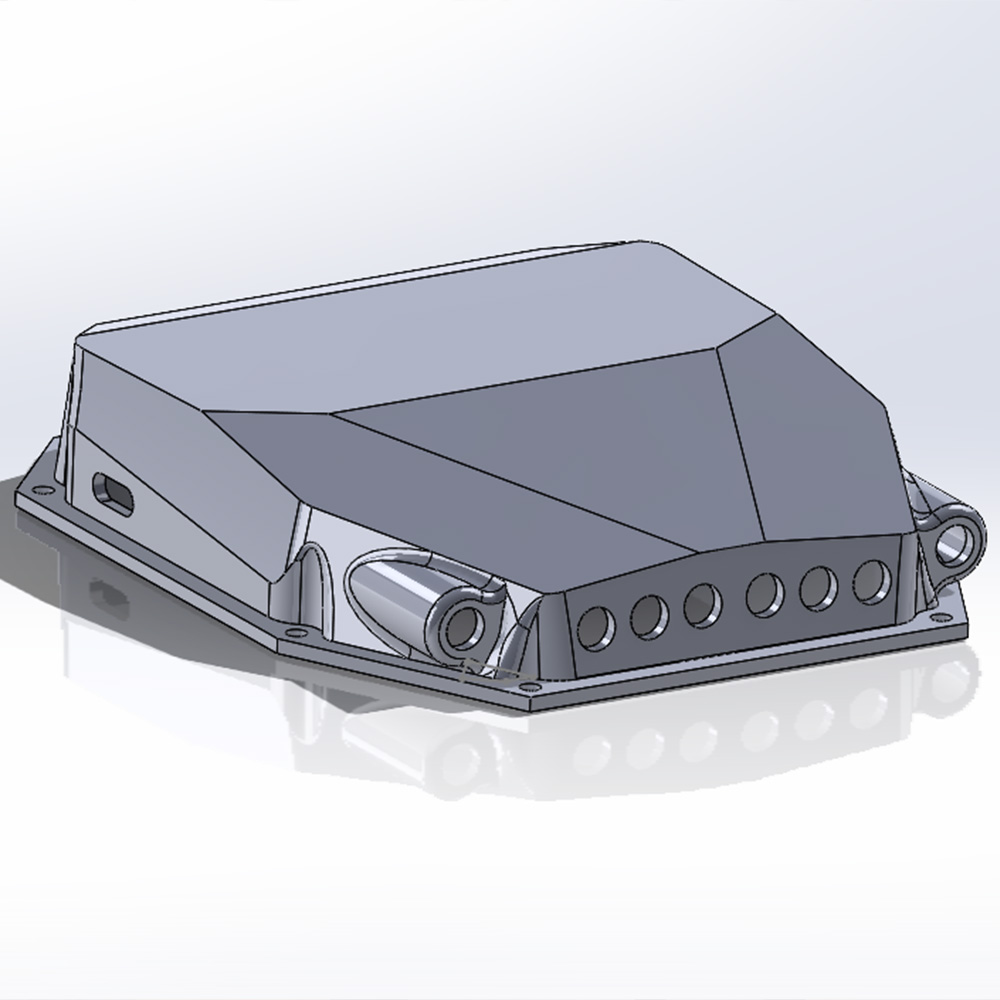
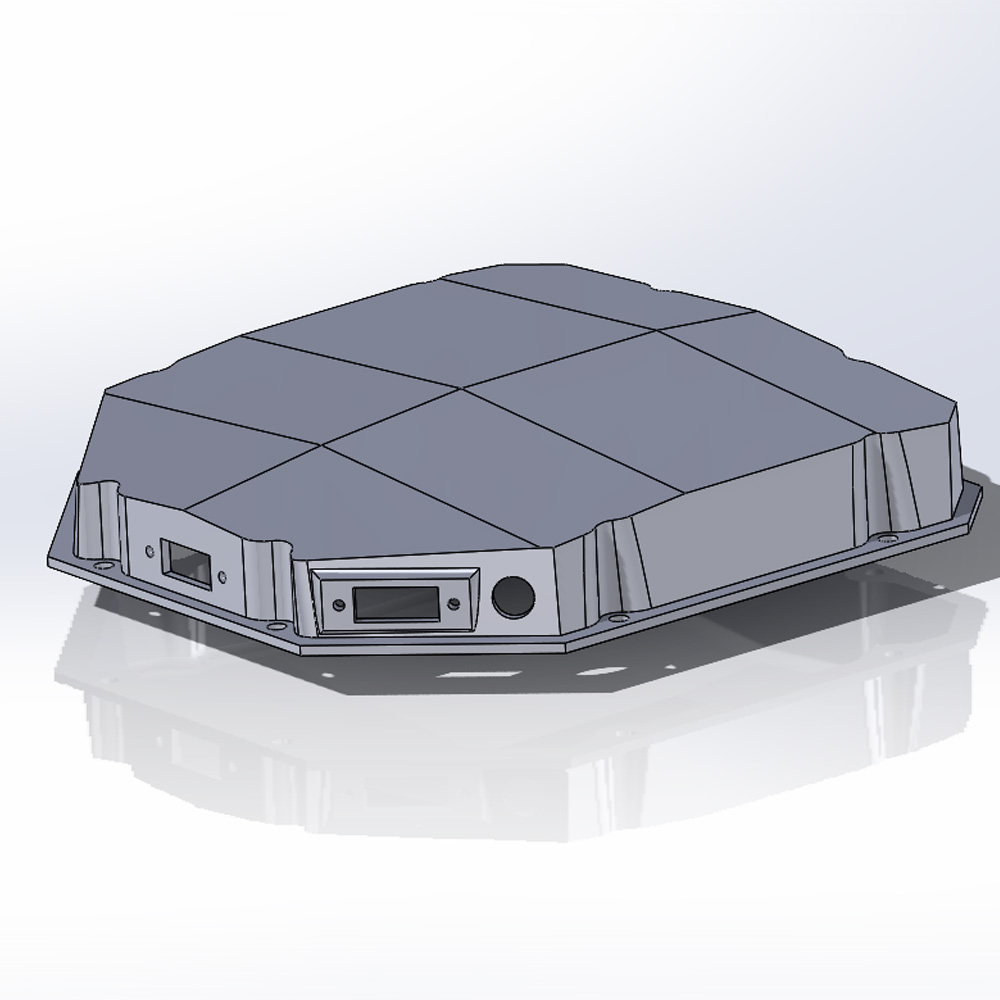
Using Solidworks 2023 I spent hours designing enclosures for the battery pack and electronics that were
visually pleasing, had correct dimensions for the connectors I had chosen, was strong enough to withstand large
forces from the flex of the deck, and was practical to print and fasten to the deck. Through nine
revisions for the battery pack enclosure and three revisions for the electronics enclosure, I overcame many
engineering challenges.
The battery pack broke many, many times. Five of the nine revisions needed to finalize its design were
necessary to strengthen its weak points. Smoothing internal corners helped prevent layer separation, and thickening the
mounting plate kept the head of the bolts from breaking through as easily. For the electronics enclosure (the smaller one)
I ended up never using the holes for the USB-C extensions I planned to install, and instead only used Bluetooth to program the
ESCs.
Electronics
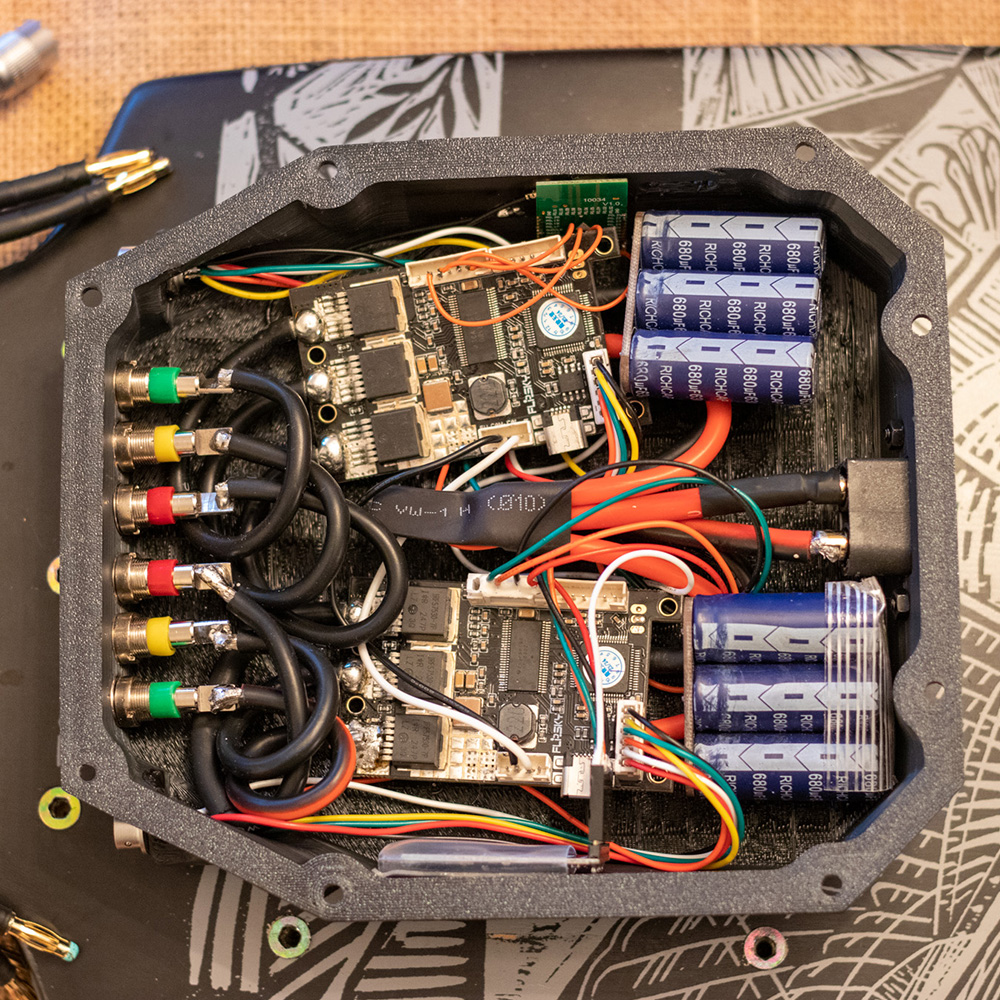
The electronics for this project include ESCs based on the free and open source
"VESC" firmware. Its flexibility allowed me to add an inexpensive bluetooth board to monitor realtime data
and change settings without a wired connection.
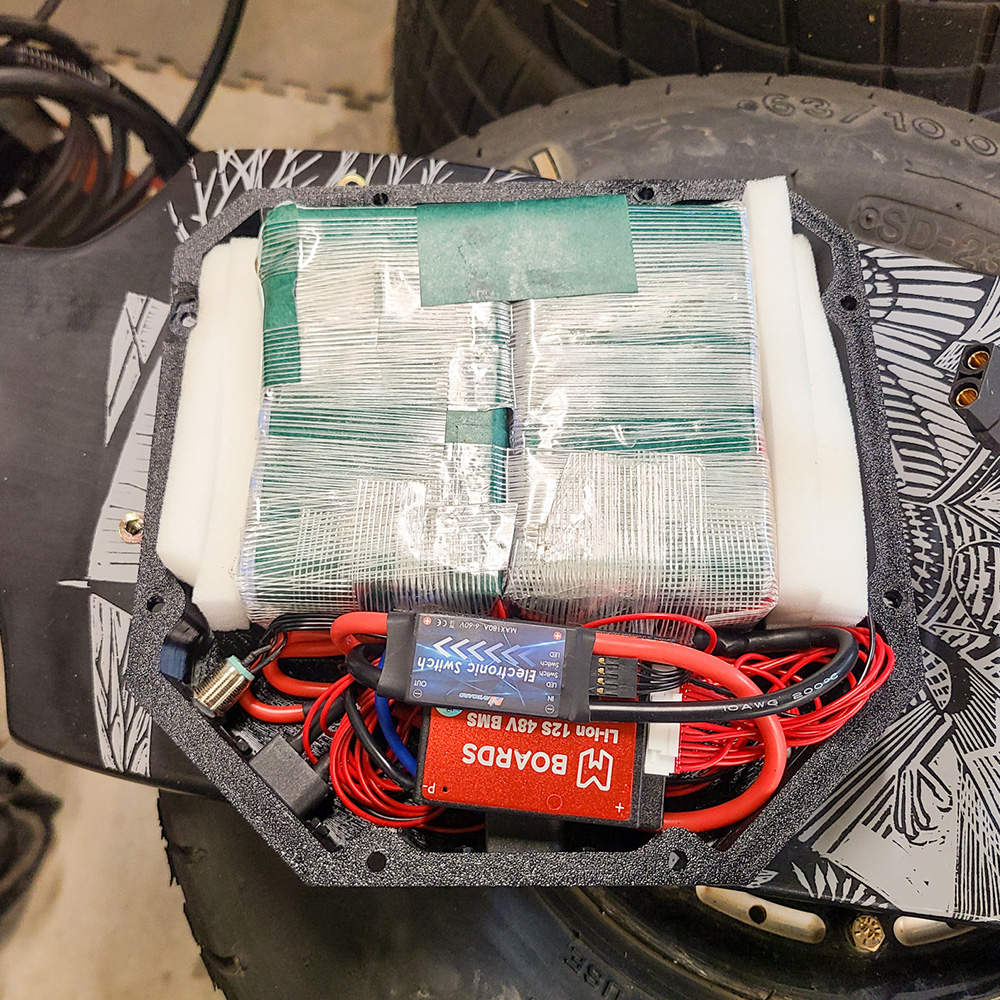
There are many manufacturers of premade battery packs in all sizes, capacities, and voltages. They
had a significant markup because of the work required to put them togther, so I opted to build my own.
I chose the Samsung 40T lithium cell because of its balance of performance and capacity. To build the pack, I arranged them in
groups of two, and put 12 of those groups in series for a total of 50.4 volts and a maximum output level of
3500 watts. After spot welding the cells together with nickel strips, I wired up a battery management system for
balancing the battery pack.
With everything wired up, it's a fully functioning, high-performance electric skateboard with a measured 30 mile range!
Throughout the ~25 hours spent on this project, I learned lots about engineering, wiring, electronics, and materials.
3D Avatar Design
// February 2023 - August 2023
During the height of the COVID pandemic, I had a lot of free time to spend around the house. One thing I enjoyed doing
was socializing and interacting with others in a virtual reality game called VRChat. Many users in the game have custom avatars - ones
that reflect how they want to look, also offering an artistic outlet for self-expression. I did the only logical thing, and
spent months learning to use Unity and upload avatars using the VRChat SDK.
Using a model called the "Rexouium" made by a 3D artist by the name of Rezillo Ryker, I had a blank slate to work with. Adobe Substance 3D
was my software of choice for painting the model and learning all about Physically Based Rendering (PBR) textures. Opening Unity,
there were still many more things I needed to learn about: shaders, visemes, blendshapes, and more - just to modify the model and
put my custom textures on. After doing so, I also wanted to add finishing touches: animating some shader options and implementing an in-game menu for
the ability to change the color of my avatar while playing. The photos are of my most recent avatar my character named Reykato!
Here's a showcase video for a previous avatar which I made as part of a class in my sophomore year:
I have worked on many more projects than the ones listed here. Contact me for more info on my projects!
